The Inkscape-to-Godot Pipeline That Actually Works
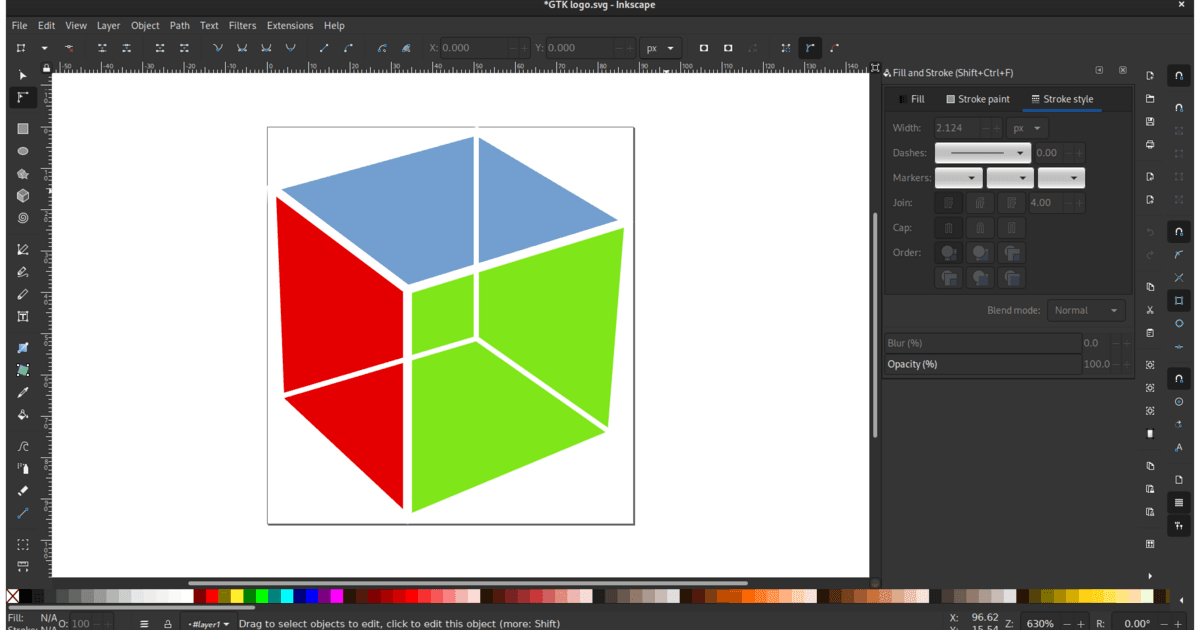
Inkscape and Godot make a natural pairing for UI and 2D art, and most of the icons, HUD elements, and interface panels in a Godot project can start life as SVG. Not out of open-source ideology — though it's nice that neither tool will ever move your file format behind a subscription — but because Godot 4 imports .svg files directly, and a single vector source can feed every resolution your game ships at. Draw an icon once in Inkscape, drop the file in your project, and it's a texture. No export dialogs, no @1x/@2x/@3x folder shuffle.
Almost. There's one mental-model trap that catches nearly everyone, plus a handful of gotchas worth knowing up front. Here's a pipeline that holds together.
The 30-second version
- Godot rasterizes SVG at import time. It's a bitmap the moment it enters the engine — not a live vector. Everything else follows from this.
- Set the import Scale for the largest size the asset will appear at. Scaling a bitmap up in-engine is what makes UI look soft.
- Convert text to paths in Inkscape (Path → Object to Path) before export. Live text may not survive.
- Skip SVG filters — blurs, drop shadows, and fancy blend modes can drop or render wrong. Bake effects to shapes.
- Save as Plain SVG, size the document in pixels, and resize the page to content so there's no phantom padding.
- Use
NinePatchRectfor resizable panels. Design the panel once, nine-slice it, and it stretches to any size with crisp corners.
Why this pairing works
Godot's SVG support means the contract between designer and engine is a plain text file in an open, W3C-standardized format. There's no proprietary intermediate, no export plugin that breaks every engine update, no per-seat licensing math when a client's team grows. Any tool that writes SVG — Inkscape, Figma, Illustrator, a script — feeds the same pipeline, and Inkscape happens to be the one nobody has to pay for or ask permission to install.
The practical upside: a client can be handed a folder of .svg sources and a Godot project and own their entire UI pipeline forever, editable in a free tool on any machine. Five years from now, when the game needs a 4K UI refresh, the vectors are still there, still infinitely scalable, still openable. That's a genuinely rare thing to be able to offer.
Rasterized at import: the one mental model that matters
Here's the trap. Because Godot imports SVG, it's easy to assume your UI is resolution-independent at runtime — real vectors, redrawn crisply at any size. It isn't. Godot rasterizes the SVG once, at import time, using the bundled ThorVG library, and from that moment on the engine is working with an ordinary bitmap texture. Stretch it, and it blurs exactly like a PNG would.
This isn't a flaw so much as a design decision — rasterizing per-frame would be expensive, and games want textures — but it reframes what the pipeline actually is: SVG is your source format, not your runtime format. The vector's job is to let you re-rasterize at any size without ever redrawing the art. The import Scale option is where you cash that in.
So the question for every SVG asset becomes: what's the largest number of physical pixels this will ever occupy on screen? Answer that, set the Scale to cover it, and the asset is sharp everywhere. Fail to answer it, and you'll be squinting at soft icons on someone's 4K monitor six months from now.
Scale and crispness: the boring stuff that bites
The importer's Scale option lives in the Import dock — select the .svg in the FileSystem dock, set Scale, hit Reimport:
Import dock, with an .svg selected:
  Import As:  Texture2D
  Scale:      2.0        # document is 64x64 -> texture is 128x128
  (Reimport)
The rules worth following religiously:
- Rasterize for the largest on-screen size, downscale in-engine. A 64×64 icon that can appear at 128×128 on a hiDPI display needs Scale 2.0. Downscaling a sharp texture with good filtering looks fine; upscaling a too-small one never does.
- Size the Inkscape document in pixels, at the asset's natural size. Document Properties → set width/height in px, and make the viewBox match. A 48px icon should live on a 48×48 document, so Scale math stays honest.
- Resize the page to content (Document Properties → Resize page to content, with zero margin) before saving. Otherwise you ship invisible padding, and your "48px icon" is a 48px drawing floating somewhere on a 210×297 default page.
- Give strokes real width. Hairline and sub-pixel strokes can thin out or vanish entirely once rasterized at small scales. If a line matters, make it at least a pixel wide at the final raster size — and remember Godot assumes sRGB, so what you see in Inkscape is what you should get.
One honest nuance: for tiny icons locked to exact pixel sizes — a 16×16 toolbar glyph, say — exporting a hand-checked PNG at exactly @1x and @2x from Inkscape is still a legitimate move, because you can pixel-fit the shapes per size. The SVG-import route trades that last pixel of control for one source file feeding every resolution. For most game UI, that's the right trade.
Which brings up a tool worth a quick detour — courtesy of a reader. Ishaan Arora asked whether Inkscape's Icon Preview dialog (View → Icon Preview) belongs in this workflow, and the answer is an easy yes. It renders your current drawing live at a stack of icon sizes — 16, 24, 32, and 48px, plus a custom slot — side by side, without ever leaving Inkscape. That makes it the fastest way to catch exactly the failures this section is about before Godot's importer rasterizes anything: the hairline stroke that vanishes at 16px, the shape that turns to mush when it shrinks, the detail that only reads at the size you drew it. Spot the problem there, thicken the strokes or simplify the geometry at the vector source, and only then hand it to the importer. Thanks for the tip, Ishaan — an indispensable addition to the workflow!
What survives the trip (and what ThorVG drops)
ThorVG covers the common ground of SVG well — paths, basic shapes, fills, strokes, linear and radial gradients, groups, transforms. But SVG is a sprawling spec, and some of it doesn't make the trip:
- SVG filters — Gaussian blur, drop shadows,
feColorMatrixand friends — may be ignored or render wrong. If an element needs a glow or shadow, draw it as actual geometry (a blurred shape baked to a path, or a soft radial gradient), or plan to add the effect in Godot with a shader. - Live text is unreliable — it depends on fonts ThorVG can't see. Always convert text to paths before export: select the text, Path → Object to Path. Keep an un-flattened working copy so the text stays editable at the source.
- Complex gradients and blend modes — mesh gradients and some blend/composite modes fall outside what survives. Stick to linear and radial gradients and normal alpha blending.
- Clip and mask edge cases — simple clips are fine; deeply nested or filter-driven masking is asking for trouble.
The golden rule: if it renders as plain filled-and-stroked paths, it will import perfectly. Keep a layered, effect-laden working file as your source of truth, and treat the exported SVG the way the Blender post treats a .glb — a flattened, engine-ready deliverable. File → Save As → Plain SVG (or Optimized SVG) strips the sodipodi:/inkscape: metadata; Godot ignores it either way, but there's no reason to ship editor cruft:
<!-- What Godot actually needs: viewBox, paths, fills. Nothing else. -->
<svg xmlns="http://www.w3.org/2000/svg" width="48" height="48" viewBox="0 0 48 48">
  <path d="M24 4 L44 40 H4 Z" fill="#e8c46b"/>
</svg>
Nine-slice panels: one drawing, any size
Here's the workflow that makes designers happy. UI panels — dialog boxes, tooltips, buttons — need to stretch to arbitrary sizes, and naively scaling a panel texture distorts its corners and borders. The fix is nine-slice scaling, and Godot's NinePatchRect does it natively.
Design the panel in Inkscape at a comfortable reference size — say 96×96 with a decorative 12px border — export it through the pipeline above (with enough import Scale that the border is sharp at final resolution), and set the patch margins to match the border:
# A panel that stretches to any size with crisp corners
var panel := NinePatchRect.new()
panel.texture = preload("res://ui/panel_frame.svg")
panel.patch_margin_left = 12
panel.patch_margin_top = 12
panel.patch_margin_right = 12
panel.patch_margin_bottom = 12
add_child(panel)
The corners render untouched, the edges stretch along one axis, and the center fills the rest. One 96×96 drawing now serves every dialog in the game. (The same margins can be set in the inspector, and the same texture works in a StyleBoxTexture if you're building a Theme — which you should be, once icon count climbs: assign your imported SVGs as Theme icons and every Button and TextureRect pulls from one place.)
The reimport loop, without pain
The golden rule mirrors the rest of the series: the Inkscape file is the single source of truth, and the engine consumes what it exports. Keep sources in the project — either alongside the imported assets or in a source folder excluded from import — and never "fix" art by editing the imported texture's usage in ways you'll forget.
The loop itself is the same one that makes the Blender and Bitwig pipelines feel good: tweak the vector in Inkscape, save over the same filename, focus the Godot window, and watch it hot-reimport. Icon proportions, HUD readability, panel borders — all evaluated live against the actual game at actual resolution, instead of guessing on Inkscape's canvas. Stable filenames matter here for the same reason they do with audio stems: re-export over the existing file and every preload, Theme entry, and NinePatchRect keeps pointing at it.
The takeaway
Inkscape and Godot 4 are a genuinely production-ready pairing for UI and 2D art, but the smoothness comes from holding one idea firmly: SVG is the source, the import-time raster is the product. Scale for the largest size, convert text to paths, keep effects as geometry, size documents honestly, and nine-slice anything that stretches. Set those conventions on day one and the pipeline disappears into the background — which is exactly what a pipeline should do.
Building something in Godot and need a UI/2D-art pipeline that won't fight your designer? That's exactly the kind of thing Codebycandle helps with — get in touch.
Corrections, suggestions, and topic ideas are always welcome — send them along.